I'm excited to write our first official blog post! We are launching this blog to share insights on using HostedScan, introduce projects and features we're working on, along with discussing the latest in cybersecurity and risk management.
I know that nothing gets the heart racing quite like risk management, but while the topic is a bit dull, vulnerability detection and risk management are critical to the health of any business in the 21st century.
First, I want to make a couple of points about our theory of how we're going to run this blog:
- We're writing our own articles here. If the article is under one of our team member's names, it's written by that real person. We want to deliver value to you and take your time seriously when you read our blog.
- We'll be expanding topics and authors over time. I, foolishly, volunteered to write the initial content but I do want to set a tone and direction that makes our blog a genuinely positive resource.
- If there are topics or questions you'd like to see discussed on our blog, please don't hesitate to reach out to hello@hostedscan.com
With that, I'd like to help you improve your usage of HostedScan. I am going to share with you two tips I frequently give to our customers.
1. Use tags to create automated and continuous vulnerability scanning
If you use tags, you can create scan schedules that will automatically incorporate any future targets you create. This saves you from having to set up a new scheduled scan for each target as you create them.
This feature is a powerful tool for implementing continuous and automatic security practices. It's also so easy to do that it gets overlooked.
First, start by creating a tag that you will use to group targets for running scans on. In this example, I'm going to add the tag webserver to any target I want to regularly run the Zap web scanner on.
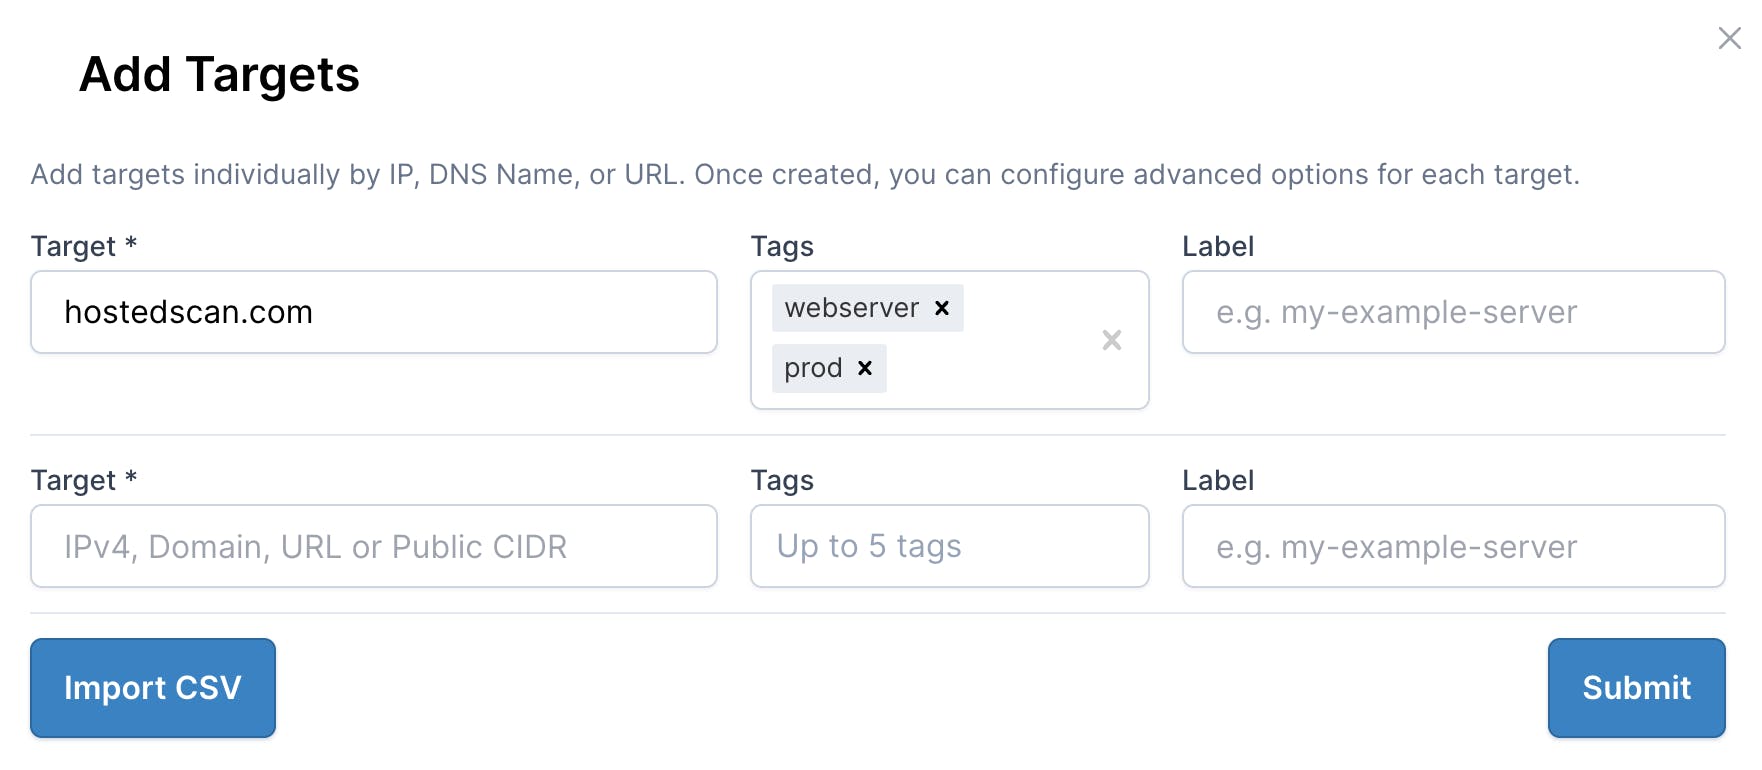
Create a target tagged "webserver"
With the target created, now set up the Zap scheduled scan. You can do this by clicking the New Scan button. I'm choosing OWASP Zap Active Web Application Scan as this will crawl my website looking for vulnerabilities and configuration weaknesses. The active scan will also include all the tests from the passive scan, so no need to do both.
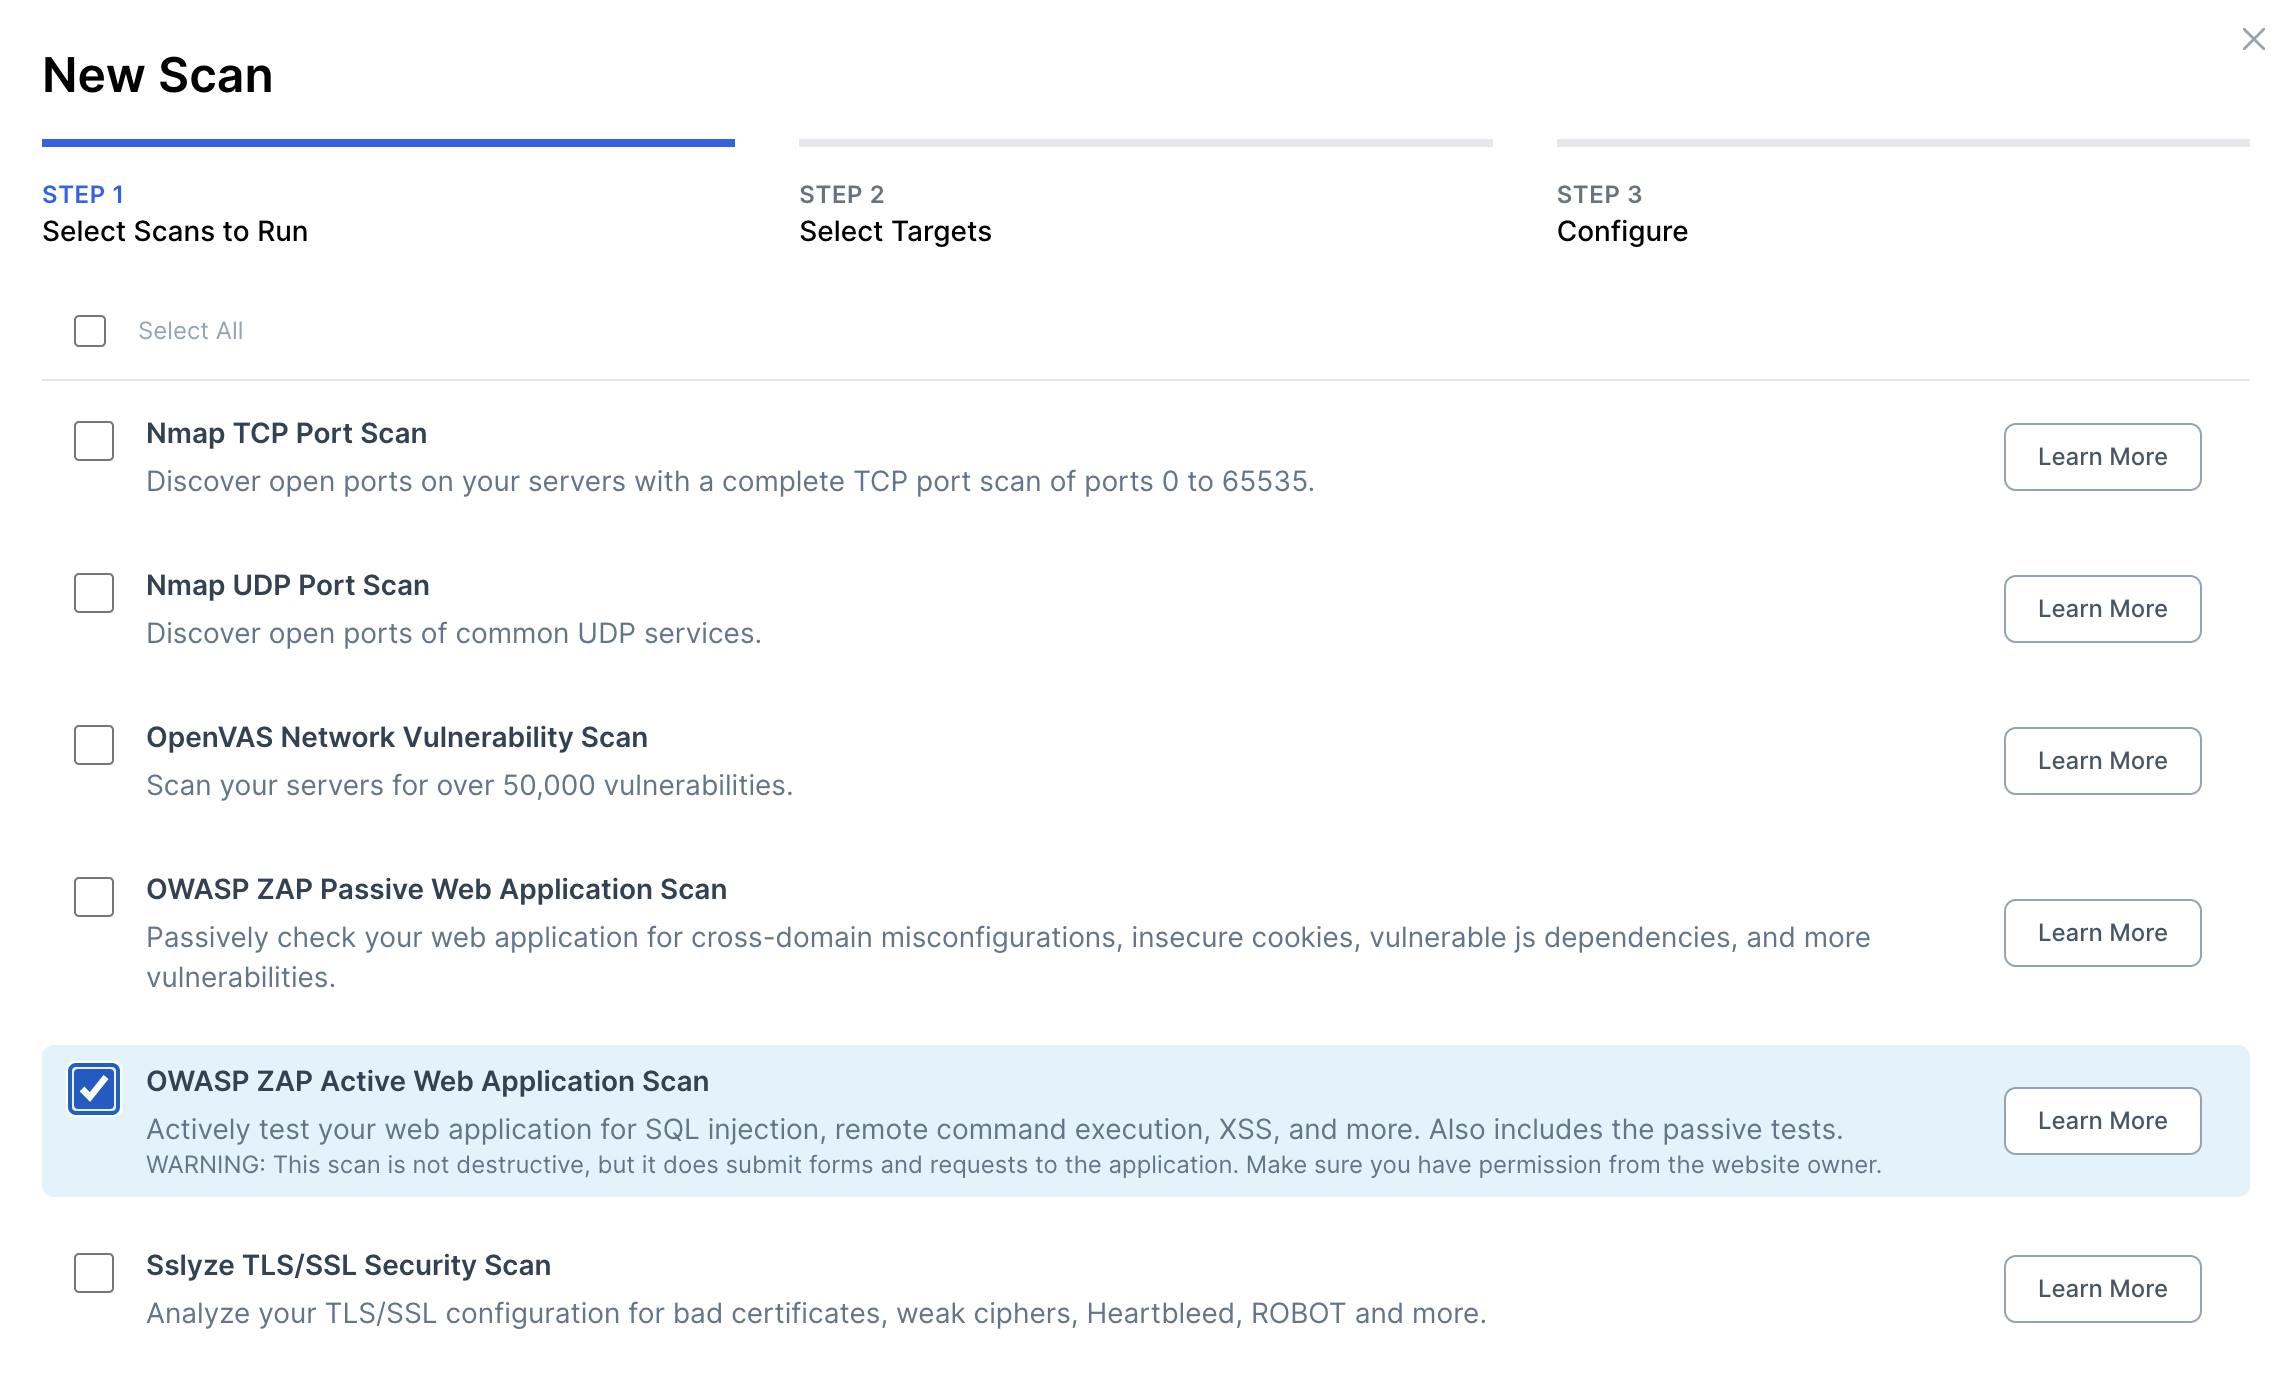
Select "OWASP ZAP Active Web Application Scan"
Click Next. Now comes the critical part. Instead of selecting individual targets or filtering, choose the Select by tag(s) toggle next to the filters, and choose the relevant tag, in this case, webserver.
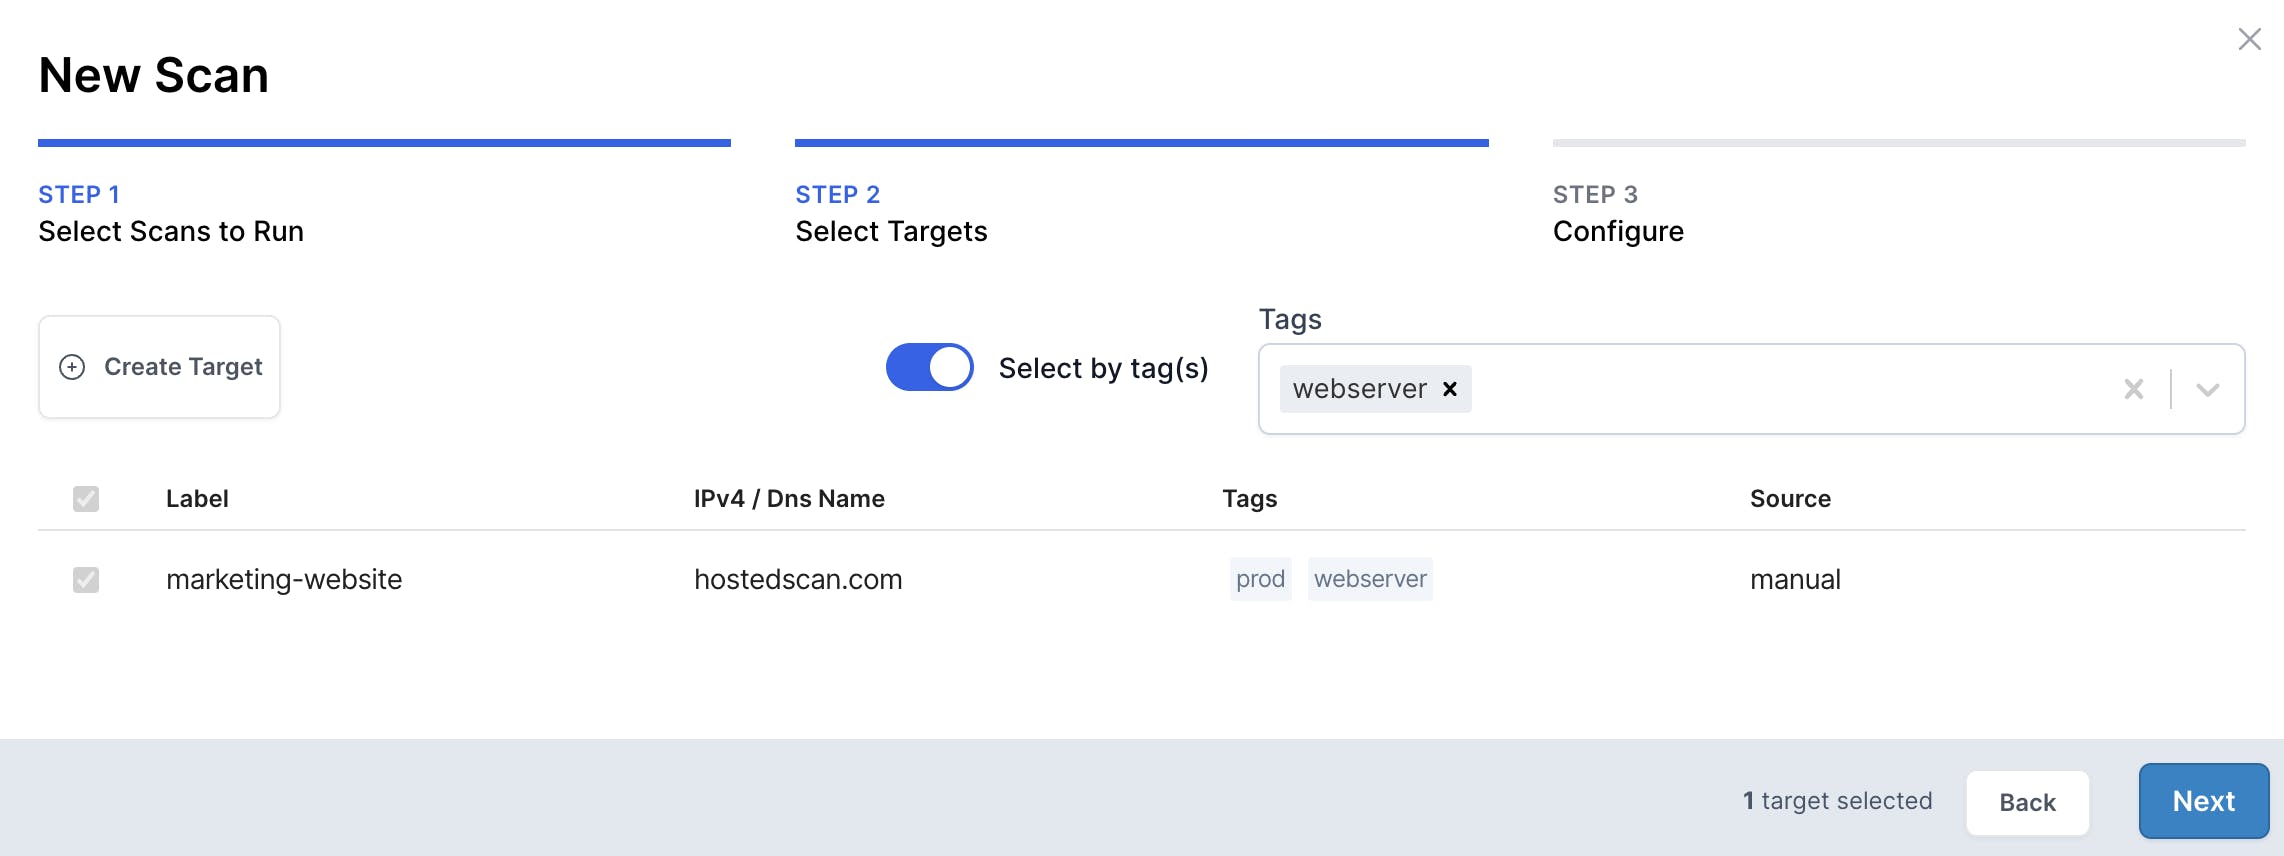
Select targets dynamically using tags
For the final step, we'll set up the schedule to turn this into a recurring and continuous scan. It's important to note that by using the Select by tag(s) feature, any targets we create in the future with this tag will automatically get included in this scheduled scan.
Click Next, and choose a schedule. I'm choosing Weekly, and setting the scan to always send an email to a custom email address for archival purposes.

Customize schedule for the scan
With that done, you will see a Scheduled Scan on the scans page that looks like this:

Scheduled scan using targets chosen via webserver tag
Now, if in the future I create a target and tag it with webserver, it will automatically get scanned as part of my weekly scheduled scan. No need to set up a new scheduled scan.
2. OpenVAS QoD matters. Big time.
We use Open Source Software (OSS) as part of our vulnerability detection suite, and we run OpenVAS as part of our network scanning. OpenVAS has a setting called Quality of Detection (QoD) that can dramatically affect the results you see depending on how you tune it.
A little background: OpenVAS is a powerful vulnerability scanner forked from the Nessus scanner that scans using Network Vulnerability Tests (NVTs). NVTs are written to detect CVEs, configuration weaknesses, and other possible sources of vulnerabilities.
When the NVT is run, it is associated with a Quality of Detection value. This NVT QoD represents the confidence level at which each vulnerability is detected. A QoD value of 80, represents a higher confidence, and value of 30 represents lower confidence.
Here's an example in HostedScan showing detected vulnerabilities, with their associated QoD:
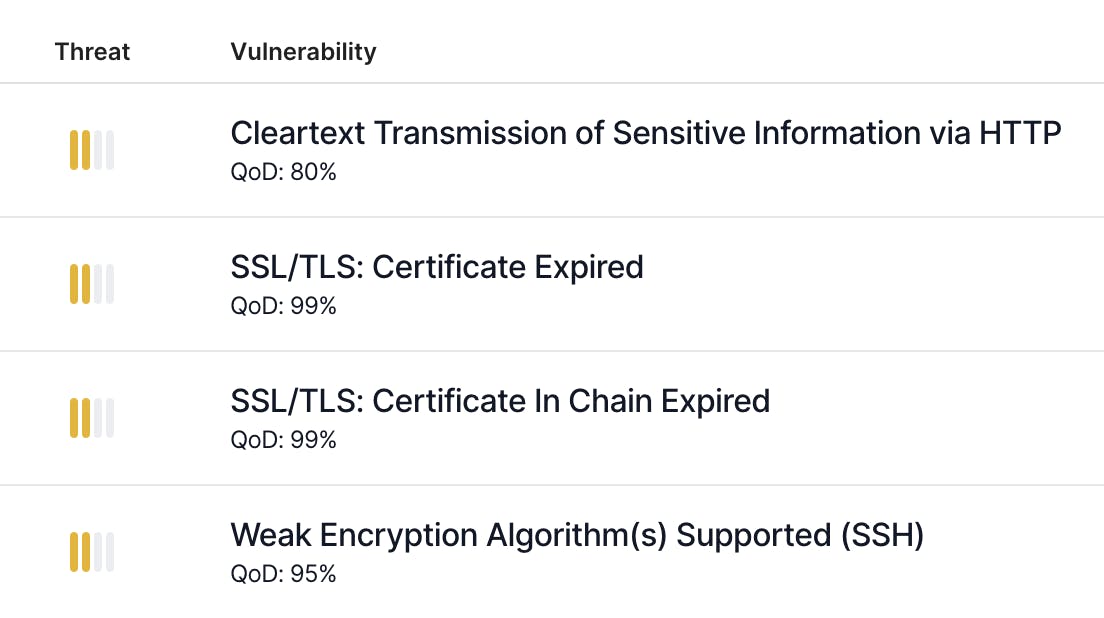
OpenVAS risks with QoD
There's another QoD value that is configured when reporting results. This filter QoD determines which NVTs OpenVAS will report back. If the filter QoD is set to 70 and the NVT QoD is below this value, OpenVAS will not report that NVT.
Changing the filter QoD won't affect the NVTs that OpenVAS tests but will hide NVTs that have a QoD below the filter threshold.
Why do this? Well, NVTs with lower QoD values are more likely to be false positives. You'll see more false positive detections in your results the lower you set the filter QoD.
With that said, Greenbone and the security community have determined that a filter QoD of 70 represents the best default for giving a good balance between quantity and quality of results detected.
In HostedScan, you can change the filter QoD your account uses when an OpenVAS scan is run. By going to the scanner settings page, you can override the default 70 value.
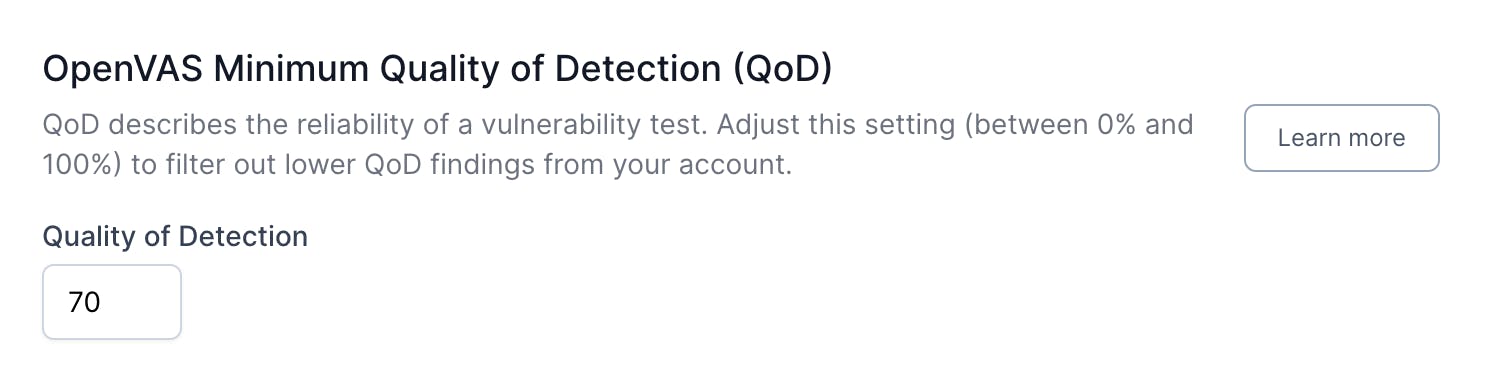
OpenVAS QoD Scanner Setting
It can be useful to lower the value if you'd like to see more NVTs that raised a positive detection against your target. Frequently, WordPress plugins have NVTs with QoDs in the 30 range. So lowering the value will give you more potential results. If you want to see everything and the kitchen sink, try 0, but I warn you, it might be too much.
You can read more about OpenVAS QoD on our website.
More coming soon
We're excited to launch this blog and share more with you. We will be launching with some additional articles soon, including what's coming next in our feature pipeline and a discussion on vulnerability management as it relates to SLAs. Keep an eye on the blog for the latest updates.

Speed and power,
without the complexity
The world's leading vulnerability scanners, all in one platform.